| Welcome, Guest |
You have to register before you can post on our site.
|
| Online Users |
There are currently 587 online users.
» 13 Member(s) | 572 Guest(s)
Bing, Google, Ridgeway, chrisntam, Kizar_Sozay, Bob10, Cabinet Monkey, EatenByLimestone, bandit571, WriteRev, wjt, JosephP
|
| Latest Threads |
Bob Vaughan has passed aw...
Forum: Woodworking
Last Post: barryvabeach
50 minutes ago
» Replies: 2
» Views: 147
|
What kind of table saw do...
Forum: Woodworking Power Tools
Last Post: Hank Knight
4 hours ago
» Replies: 75
» Views: 5,642
|
Bob Vaughan has passed aw...
Forum: Woodworking Power Tools
Last Post: Arlin Eastman
Yesterday, 10:04 PM
» Replies: 0
» Views: 120
|
Delta Milwaukee Homecraft...
Forum: Woodworking Power Tools
Last Post: Arlin Eastman
Yesterday, 09:55 PM
» Replies: 9
» Views: 1,177
|
Looking for Reasonably Pr...
Forum: Home Improvement
Last Post: JosephP
Yesterday, 08:50 PM
» Replies: 4
» Views: 232
|
Please do not use this bu...
Forum: Woodworking
Last Post: Arlin Eastman
Yesterday, 07:26 PM
» Replies: 6
» Views: 430
|
Sears Bandsaw Throws Belt
Forum: Woodworking Power Tools
Last Post: Petertaylor
Yesterday, 04:00 PM
» Replies: 3
» Views: 187
|
Wood Threaders
Forum: Tool Swap N' Sell
Last Post: UpstateNYdude
Yesterday, 12:43 PM
» Replies: 3
» Views: 479
|
Laguna vs Dark Stone bs b...
Forum: Woodworking
Last Post: fredhargis
Yesterday, 10:02 AM
» Replies: 7
» Views: 285
|
My lucky day with my AC u...
Forum: Home Improvement
Last Post: jteneyck
Yesterday, 09:06 AM
» Replies: 7
» Views: 238
|
|
|
| Fantasy Tool Box - part 3 |
|
Posted by: Derek Cohen - 07-14-2025, 09:47 AM - Forum: Woodworking Hand Tools
- Replies (6)
|
 |
A few more progress shots.
Ring handles have been added along a shoulder strap. This one is temporary. A nice leather one has been ordered.
The inside lid is now complete. In addition to the shopmade dovetail and crosscut joinery saws, and the customised Knew Concept fret saw, there is a Nakaya mini dozuki (150mm plate, 0.20mm thick). I added a custom handle in Sheoak. This is a superb saw for very fine cuts, such as dovetailed mitres.
The dozuki is supported by a swivel clasp and held with a rare earth magnet at the toe ...
There are two steel rules: a 150mm/6" and a 300mm/12" from a Starrett combination square. The head for the square is in one of the boxes in the top layer.
In the right corner of the lid are two dovetail templates, 1:6 and 1:7. These are the ratios I prefer to use.
And, lastly, the top row of boxes, with shopmade chisels, angle squares, and shopmade marking tools ...
Regards from Perth
Derek
|

|
|
| Paving Question |
|
Posted by: crokett™ - 07-14-2025, 09:34 AM - Forum: Home Improvement
- Replies (14)
|
 |
My driveway is a steep hill. It's currently gravel. Heavy rains wash it out. We are considering having the steepest part of it paved. Currently we would not pave the parking area at the top or a section at the bottom that transitions to a flatter section. It is not practical to pave the entire private road as it is 3/10 mile long. My question is whether there will be issues at the top and bottom where it transitions from the paved to the unpaved sections.
if it matters the grade is steep. I don't know how steep, but lets say at least 30%, but not more than 40%?
|

|
|
| Roofer Recommendation? |
|
Posted by: Marilynchildress - 07-13-2025, 10:56 AM - Forum: Home Improvement
- No Replies
|
 |
Hi all – Now I live in South Jersey that was converted to a 5-unit condo. The interiors were nicely renovated but we are experiencing some problems with the roof. Can anyone recommend an honest & highly-qualified roofers in South Jersey? Water is entering through seams in the sealant and causing small…
|

|
|
| 22” drawer on a 21” Blum drawer slide? |
|
Posted by: DogwoodTales - 07-13-2025, 07:04 AM - Forum: Woodworking
- Replies (17)
|
 |
My original kitchen plans were to build 22” deep drawers, but Blum under mount slides jump in size from 21 to 24”. There won’t be room for a 24” deep drawer so I ordered the 21” and just planned to make 21” deep drawers.
However as I was looking over the 21” drawer slides that were delivered and I thought that maybe I could still make 22” deep drawers by just setting the locking clip back by 1” with a spacer and of course the drawer slide would have to be set 1” deeper into the cabinet as well. That means that the last 1” won’t extend outside the cabinet frame, but I don’t see that as an issue and I’ll have an extra inch of depth to use.
But I’ve never installed these slide types before so I’m not sure if there’s an issue with this idea that I’m overlooking.
Would this work?
Thanks
|

|
|
| Lie Nielsen Bench Planes – Northern Va |
|
Posted by: Jeff59 - 07-12-2025, 10:35 AM - Forum: Tool Swap N' Sell
- Replies (2)
|
 |
Some health issues have prompted me to sell off some workshop items, mostly hand tool stuff to start. First up are Lie Nielsen bench planes. Most of these LNs are like-new and have been stored in a climate-controlled shop. Except for the #4, all come with boxes and the original packaging. Since they are in excellent condition, I did not take a lot of pictures, but I can take any additional that you want. I’ve tried to point out any flaws in the descriptions and pictures (like scratches on the #7).
Prices do not include shipping - I have a UPS account and can check USPS for rates.
LN #8 – Never used with LN cocobolo wood upgrade. $525
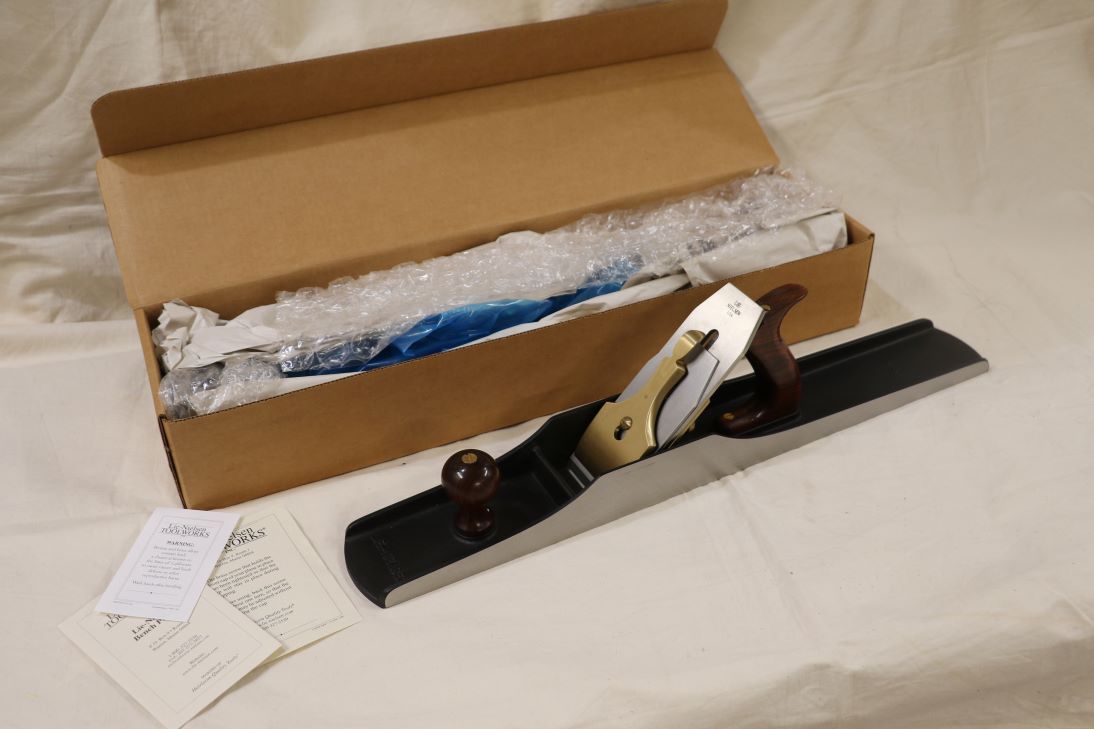
LN #7 – Light usage. Some very light scratches on the one side. Probably could be buffed out if desired. $400 ==> Sold
LN #6 – Light usage. $400
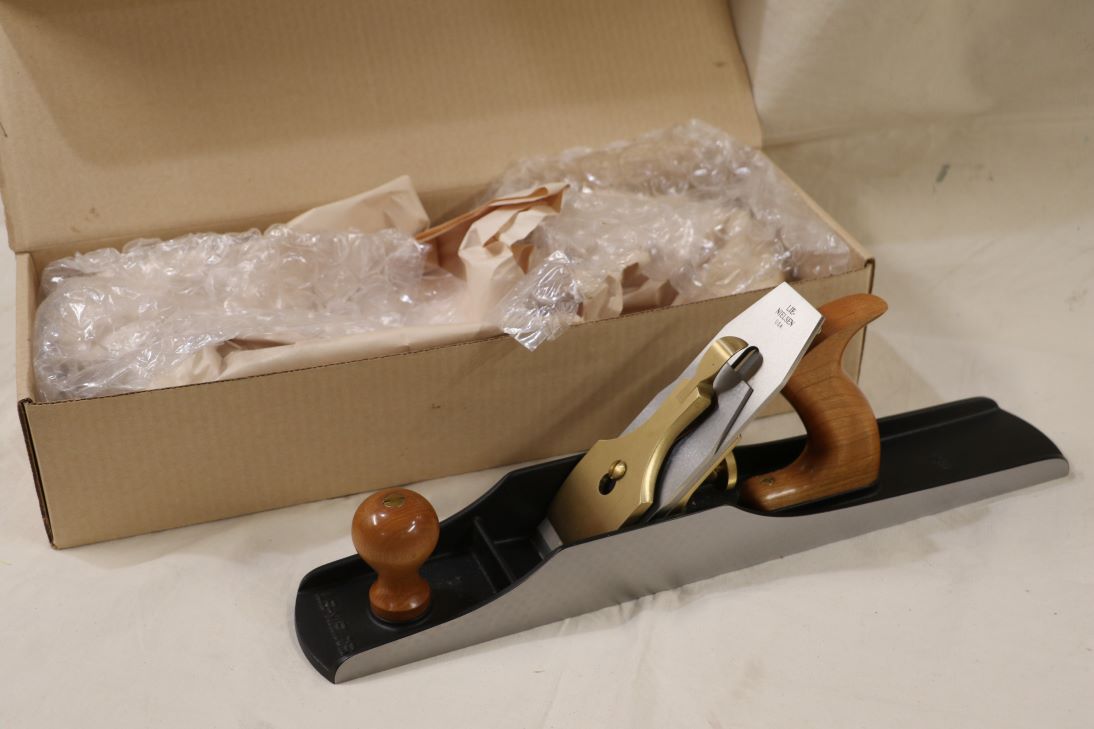
LN #5-1/4 – Light usage. No longer available from LN. $350 ==> Sold
LN #5 – Light usage. $325
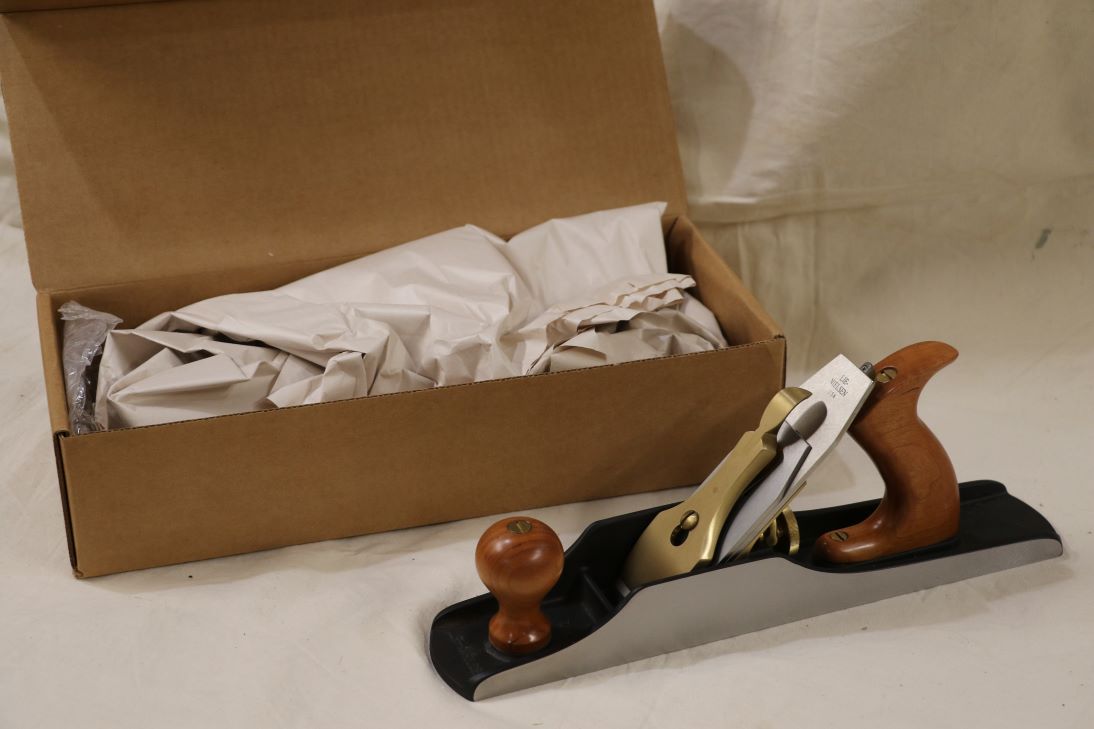
LN 4-1/2 – light usage. $325
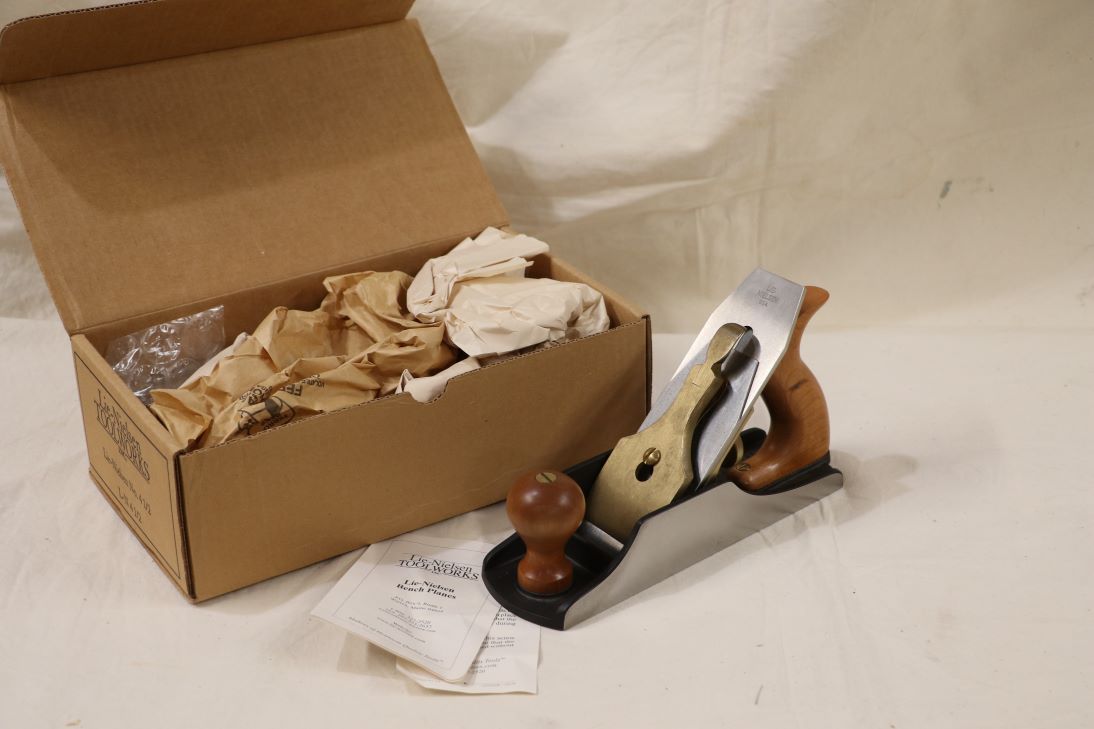
LN #4 – No box, light usage, but cocobolo(?) wood. I am not 100% sure on the tote/knob being from LN – it looks more like walnut to me. If I bought it from one of you guys, feel free to weigh in
 $325 $325
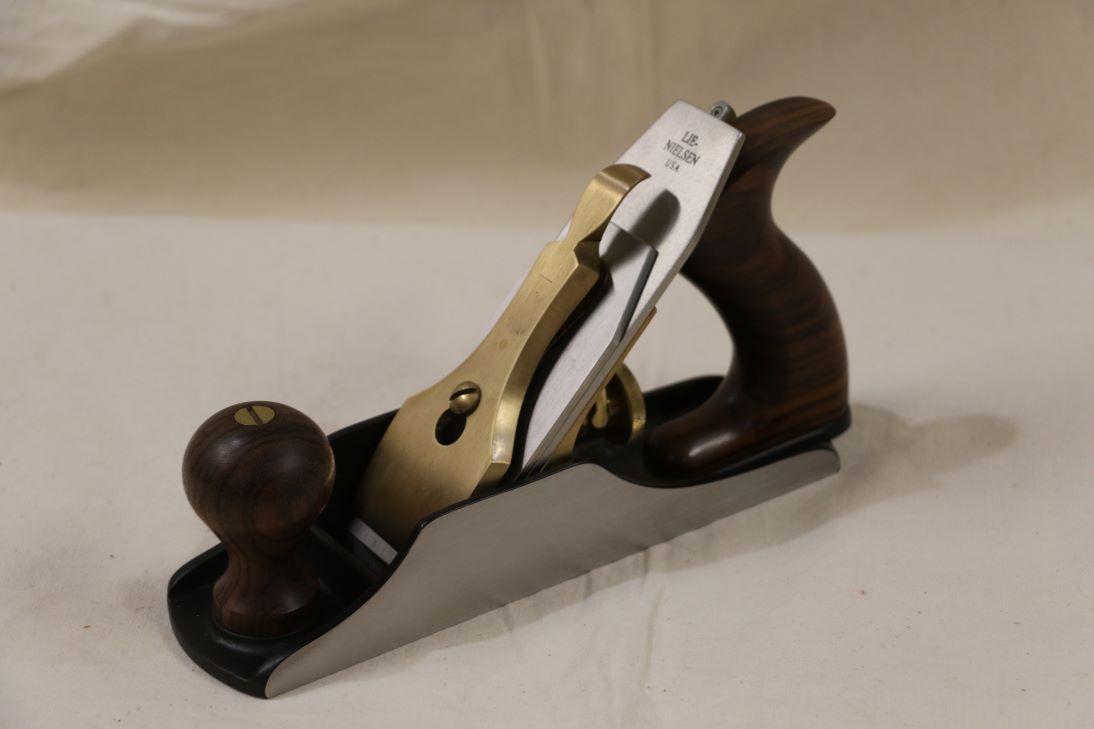
LN #3 – Light usage. $300
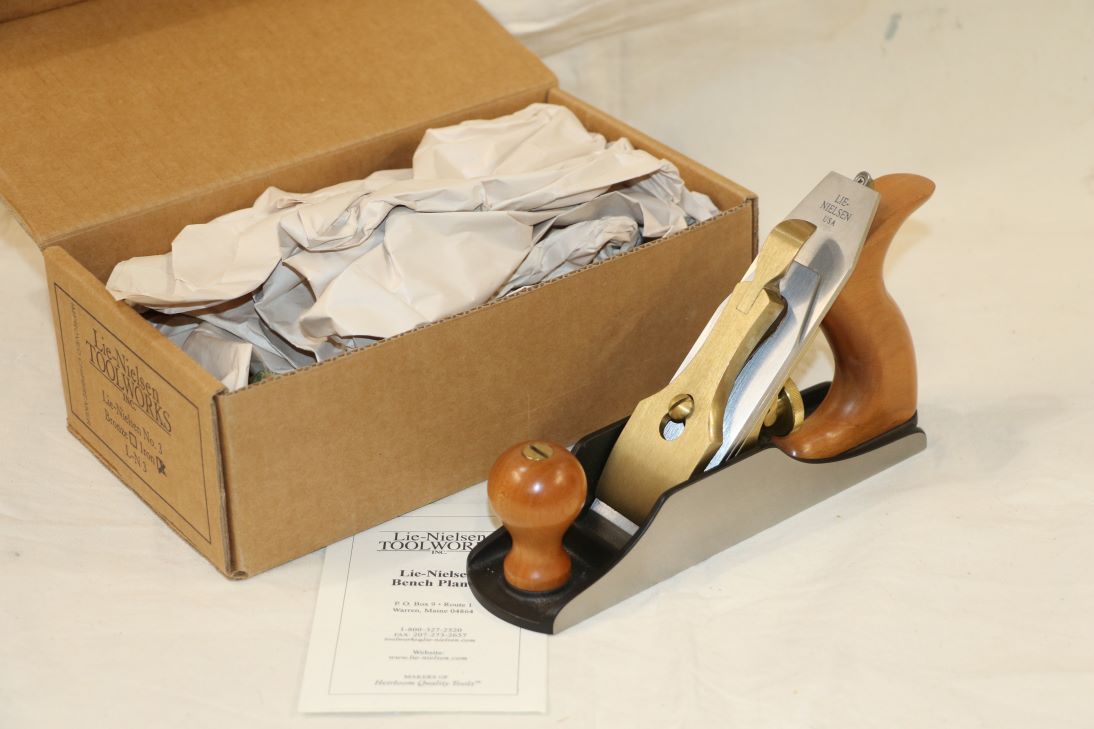
LN #2 in bronze – Light usage. No longer available in bronze from LN. $350 ==> Sold
LN #62 – Light usage. $250
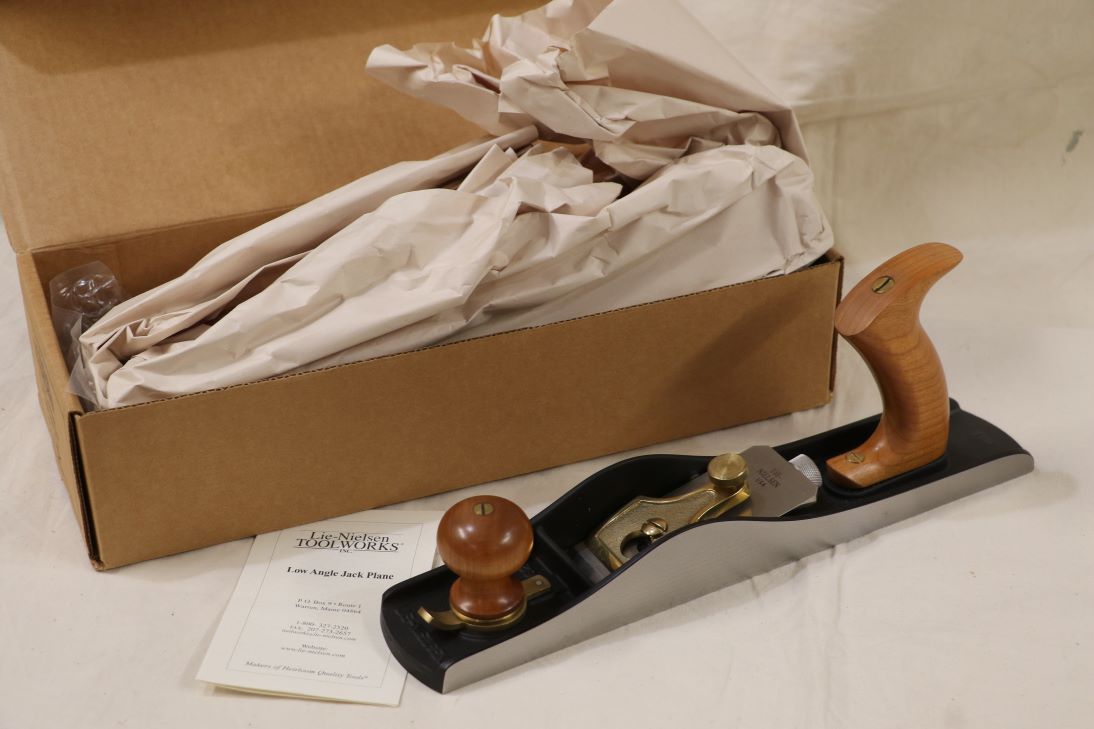
LN #85 – Light usage and signed by TLN. $250
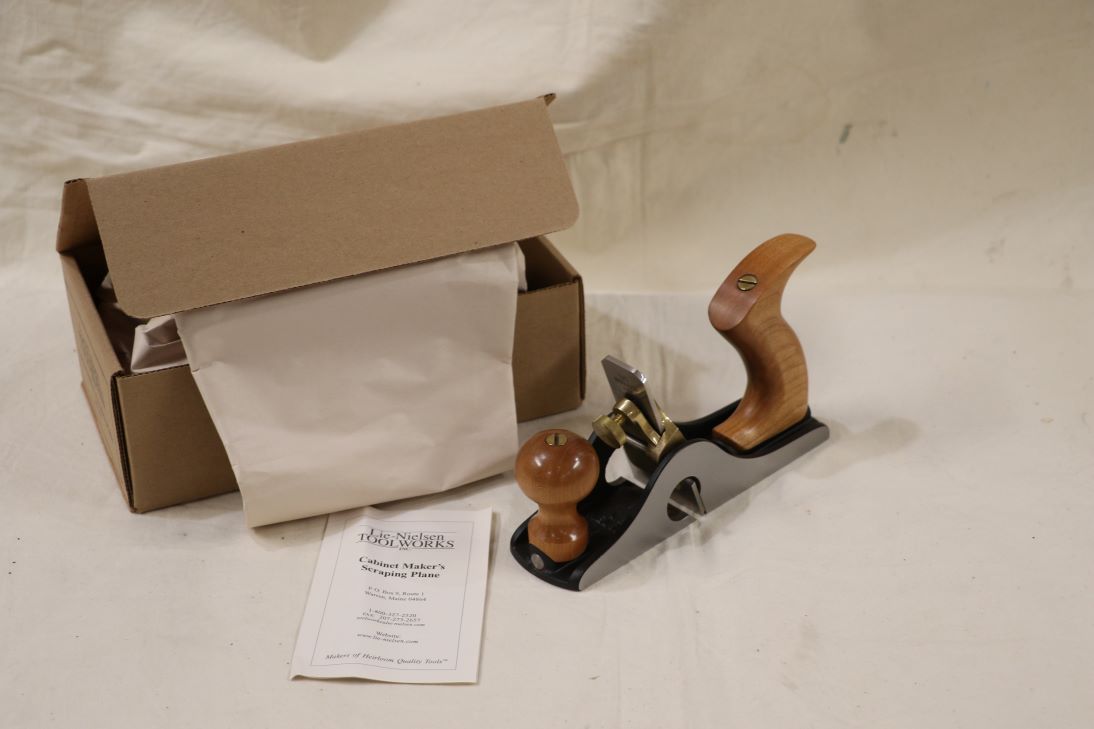
Higher resolution and other photos are available here: https://www.flickr.com/photos/203137141@...0327437594
(filenames have the plane number first – 4h is 4-1/2 and 5q is 5-1/4)
Payment can be Zelle, USPS money order, or personal check for established forum members. A cash FTF transaction is good also – I am in Northern Virginia and generally available evenings and weekends.
I also have quite a few Stanley bench planes – mainly type 11 and type 19. The plan was to have a set for each son, but they have no interest, so these will be listed eventually. Feel free to reach out if interested.
|

|
|
| A Tool Tray and its dovetails |
|
Posted by: Derek Cohen - 07-12-2025, 08:23 AM - Forum: Woodworking Hand Tools
- Replies (6)
|
 |
A week ago my wife asked to build a tea tray. Something on the smaller side. At the same time, I agreed to do a dovetailing demonstration for my woodworking club. So I was thinking about construction of the tea tray, and whether it was possible to kill two birds with one stone, that is, was there a place for the tea tray in the demonstration?
I am not sure why it is, but few of the furniture/case or box builds I see on YouTube or websites feature mitred dovetails. It is usually only simple through dovetails or half blind dovetails. Using half blind dovetails at the front of a drawer is obvious, as is the simple through dovetail for the drawer back. Ploughing a groove for the drawer bottom (if not using slips) is straight forward here since the groove is hidden inside the half blind front.
But this is so with cases and boxes utilising through dovetails. Without a mitre to hide the groove inside, one must use a stopped groove, and this is cumbersome to make with hand tools. Not to mention the fact that mitred ends look better than stumpy square ends. I routinely use mitred through dovetails. They are more work, in fact, I think they require a lot more care when sawing. But, like everything, it gets easier with practice.
Now the great majority of the members of the woodworking club are power tool users, and I was asked to come along to provide a variation for the other presenter, who will focus on finger joints. Finger joints are pretty strong, but only because they create a large glue area. Dovetails, being a mechanical joint, do not need glue (if done well). I thought I might demonstrate this by taking along a dovetailed tea tray, and not glue it up. Might be interesting to pass the tray around for inspection ... and then knock it apart in front of all! ![[Image: 1f642.png]](https://cdn.jsdelivr.net/joypixels/assets/8.0/png/unicode/64/1f642.png)
The size of the tea tray is 500mm (about 19 1/2") in length and 380mm (15") in width. The wood is some Black Walnut scraps ... the very last I had. Such pretty wood, and possibly the best wood in the world to work with hand tools.
I am not going to bore anyone with pictures of dovetailing. There is a pictorial on my website, here. Instead, a few progress photos to illustrate how mitred through dovetails aid here.
Dovetails ...
![[Image: 4.jpg]](https://i.postimg.cc/sXVjtkcd/4.jpg)
Grooving the sides ...
![[Image: 3.jpg]](https://i.postimg.cc/7L1PtHSn/3.jpg)
Fitting together ...
![[Image: 5.jpg]](https://i.postimg.cc/C1mhYcPZ/5.jpg)
![[Image: 6.jpg]](https://i.postimg.cc/HnnpLbR6/6.jpg)
Four sides ...
![[Image: 2.jpg]](https://i.postimg.cc/PqHL6wsx/2.jpg)
![[Image: 1.jpg]](https://i.postimg.cc/FH3dgx68/1.jpg)
Rebating the tray bottom with a Veritas Skew Rabbet Plane. The bottom is 7mm thick and the rebates are 3mm wide and deep ...
![[Image: 7.jpg]](https://i.postimg.cc/fbTmSZYz/7.jpg)
This is where a shoulder plane is best used ... to clean and tune rebates ...
![[Image: 8.jpg]](https://i.postimg.cc/zGNn5TBR/8.jpg)
The fit ...
![[Image: 9.jpg]](https://i.postimg.cc/6phCQT2b/9.jpg)
The next stage is for the ends to be shaped. In this photo a template is create to make a uniform curve ...
![[Image: 10.jpg]](https://i.postimg.cc/hPT9H2SB/10.jpg)
Cut out, smoothed, and then fretsawed out and finally finished with rasps and sand paper ...
![[Image: 11.jpg]](https://i.postimg.cc/kMVNynzD/11.jpg)
The underside ...
![[Image: 12.jpg]](https://i.postimg.cc/G3ZF7WnK/12.jpg)
The joinery is not glued but really solid. Very pleased with this. Some dusty mitred through dovetails ...
![[Image: 13.jpg]](https://i.postimg.cc/Rq5Z7181/13.jpg)
Job done with one coat of hard wax oil ...
![[Image: 14.jpg]](https://i.postimg.cc/8crCfXyP/14.jpg)
Regards from Perth
Derek
|

|
|
| Your dream router and table |
|
Posted by: Arlin Eastman - 07-11-2025, 02:06 PM - Forum: Woodworking Power Tools
- Replies (17)
|
 |
If you could have a dream router and table how would you like it or dream of it working with any attachments?
Me attachments would be something like clip on additions which were small or just big enough that attached to the fence or table itself to get the job done right. I would like a router raiser that has large numbers to read and settable to raise by 1/16 or 1/32 up and down with a big noise suppression where it will change the bits automatically changed to what is needed for the job.
I love attachments that show on a screen how it works or adjustable to how you want it to work or adjust itself to what you want to do or where it suggests ways you can use it to its potential. Or another think is you want a cabinet door and it suggests many different styles and or hinge selection and automatically does it with a board you just lock into place.
What do you guys want in a one.
|

|
|
|